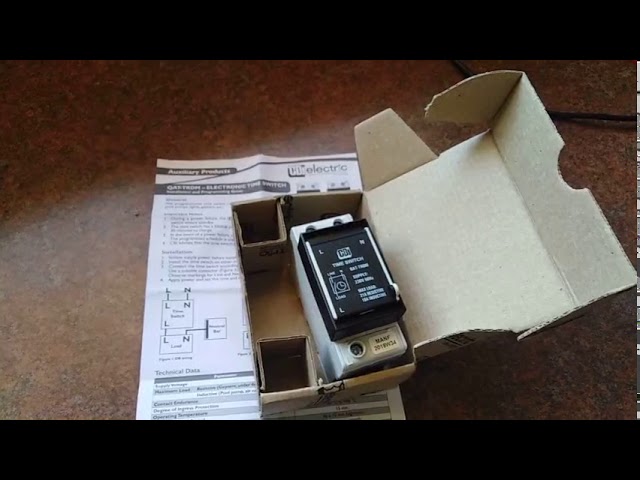
Welcome to our guide on how to install a geyser timer. A geyser timer is a device that can help you save money on your energy bills by controlling when your geyser is on and off. By installing a geyser timer, you can ensure that your geyser only heats water when you need it, rather than wasting energy by keeping the water heated all day long.
Step 1: Choosing the Right Geyser Timer
The first step in installing a geyser timer is to choose the right timer for your needs. There are several types of timers on the market, so it is important to select one that is compatible with your geyser and meets your specific requirements.
Some Factors to Consider When Choosing a Geyser Timer
- The size and power rating of your geyser
- The type of geyser you have (e.g. electric or gas)
- The type of timer you want (e.g. programmable or manual)
- Your budget
Step 2: Turn off the Power to Your Geyser
Before you begin installing your geyser timer, it is important to make sure that the power to your geyser is turned off. This can usually be done by turning off the relevant circuit breaker in your home's electrical panel.
Step 3: Locate the Geyser Timer Control Box
The next step is to locate the control box for your geyser timer. This is typically located near your geyser, but the exact location may vary depending on the specific model you have.
Step 4: Disconnect the Old Timer (If Necessary)
If you are replacing an existing geyser timer, you will need to disconnect the old timer from the control box before installing the new timer. This is usually as simple as unplugging the old timer and removing it from the control box.
Step 5: Install the New Geyser Timer
The next step is to install the new geyser timer. Follow the instructions provided with your specific timer model to connect it to the control box.
Step 6: Set the Timer
Once the new geyser timer is installed, you will need to set it according to your specific needs. This may involve programming the timer to turn your geyser on and off at specific times, or manually setting the timer each time you want to use hot water.
Step 7: Test the Geyser Timer
Once you have installed and set your new geyser timer, it is important to test it to ensure that it is working correctly. Turn on your geyser and observe whether it heats up at the correct times according to your timer settings.
In Conclusion
Installing a geyser timer is a simple and effective way to save money on your energy bills. By following the steps outlined in this guide and selecting the right timer for your needs, you can start enjoying the benefits of lower energy consumption and reduced costs. Remember to always exercise caution when working with electrical systems, and consult a professional if you are unsure about any aspect of the installation process.

