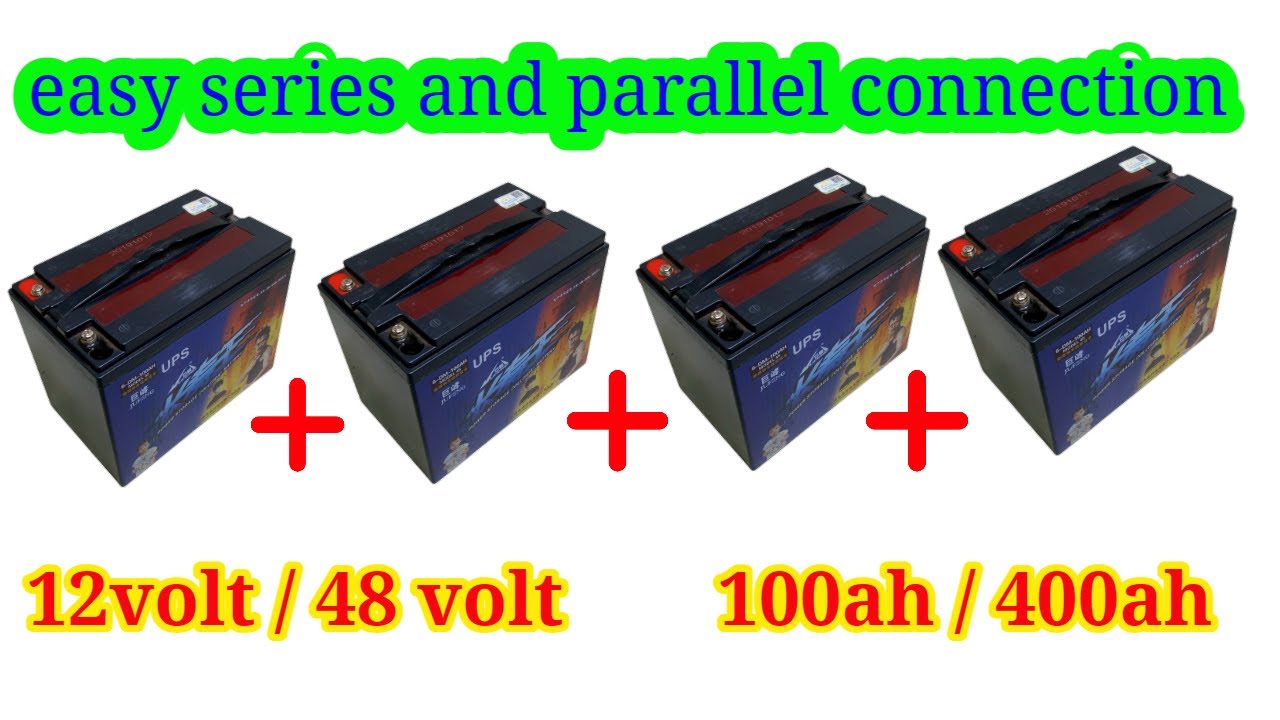
Connecting four 12V batteries is an efficient and cost-effective way of achieving a 48V power source for a variety of applications. However, it's important to follow the correct steps to ensure you connect the batteries safely and effectively. In this article, we'll go over everything you need to know to make sure you can connect your batteries with confidence.
What You Will Need
Before we dive into the steps needed to connect 4 12V batteries to create a 48V power source, make sure you have the following items:
- 4 x 12V batteries
- Wiring (like 4 gauge or 2 gauge)
- A Battery Bank
- A Multimeter
- A Battery Charger
- A Circuit Breaker
Steps to Connect 4 12V Batteries to Make 48V
Step 1: Choose the Right Location
The first step is to select the location where you'll connect the batteries. Ensure it's a dry, cool, and ventilated area. Avoid connecting batteries in high-temperature areas or where there's moisture, as this could damage your batteries.
Step 2: Prepare the Batteries
Ensure the terminals of the four batteries are clean and corrosion-free. Use sandpaper or a wire brush to clean the terminals if necessary. If the batteries are not yet fully charged, use a battery charger to top them off before connecting them.
Step 3: Make the Connections
Connect the batteries in a series connection with jumper cables or a pre-made battery cable. Connect the positive terminal of the first battery to the negative terminal of the second battery. Repeat this process to connect all four batteries in series:
- Positive (+) of Battery 1 to Negative (-) of Battery 2
- Positive (+) of Battery 2 to Negative(-) of Battery 3
- Positive (+) of Battery 3 to Negative (-) of Battery 4
Finally, connect a jumper cable between the positive terminal of Battery 1 and the negative terminal of Battery 4. The total voltage will be 48V, which is the sum of each battery's 12V.
Step 4: Install a Circuit Breaker
Installing a circuit breaker in the 48V positive wire is essential to protect your battery system from any electrical fault. Install a 50-amp circuit breaker in the positive wire, and ensure it's rated for 48V DC.
Step 5: Test Your Connections
Once you complete all the connections, test your battery voltage with a multimeter to make sure it's reading a steady 48V. If the voltage is unstable, double-check all connections, or use the multimeter to test each battery's voltage individually.
Tips to Keep in Mind
- Always charge all the batteries to the same voltage before connecting them in series, or you could damage your batteries.
- When connecting wires, ensure there's enough space and no wire is rubbing against another. Friction between the wires can cause insulation to wear over time and cause a short circuit.
- Make sure you connect the breaker closer to the batteries. This ensures that it trips faster in case of a fault in the battery pack.
- Using improper cable sizes can cause higher resistance, leading to voltage drop and ultimately damage to your battery system. It is recommended to use 2 gauge or 4 gauge wiring based on the system's needs.
Conclusion
Connecting 4 12V batteries to create a 48V power source may seem daunting, but it's an easy process when you know what you're doing. Follow these simple steps, and you'll have a stable and reliable power source to run all your 48V applications. By following the right safety measures, testing and maintaining your battery system, you'll have a long-lasting source of power for all your needs.