Welcome to this informative article on how to connect solar panels to battery. Solar power is becoming a popular choice for renewable energy. By connecting solar panels to a battery, you can store the energy and use it whenever you need it. This process may seem complicated, but with the right equipment and knowledge, it is relatively easy. In this guide, we will explain the steps you need to follow.
What You Will Need:
- Solar panels
- Battery
- Solar charge controller
- Inverter
- Cables and connectors
Step 1: Mount the Solar Panels
The first step is to mount the solar panels. Installing the panels in a place where they will get maximum sunlight is critical. Depending on the type of panels you have, you might have to mount them at a specific angle or position. Follow the manufacturer's instructions when installing the panels.
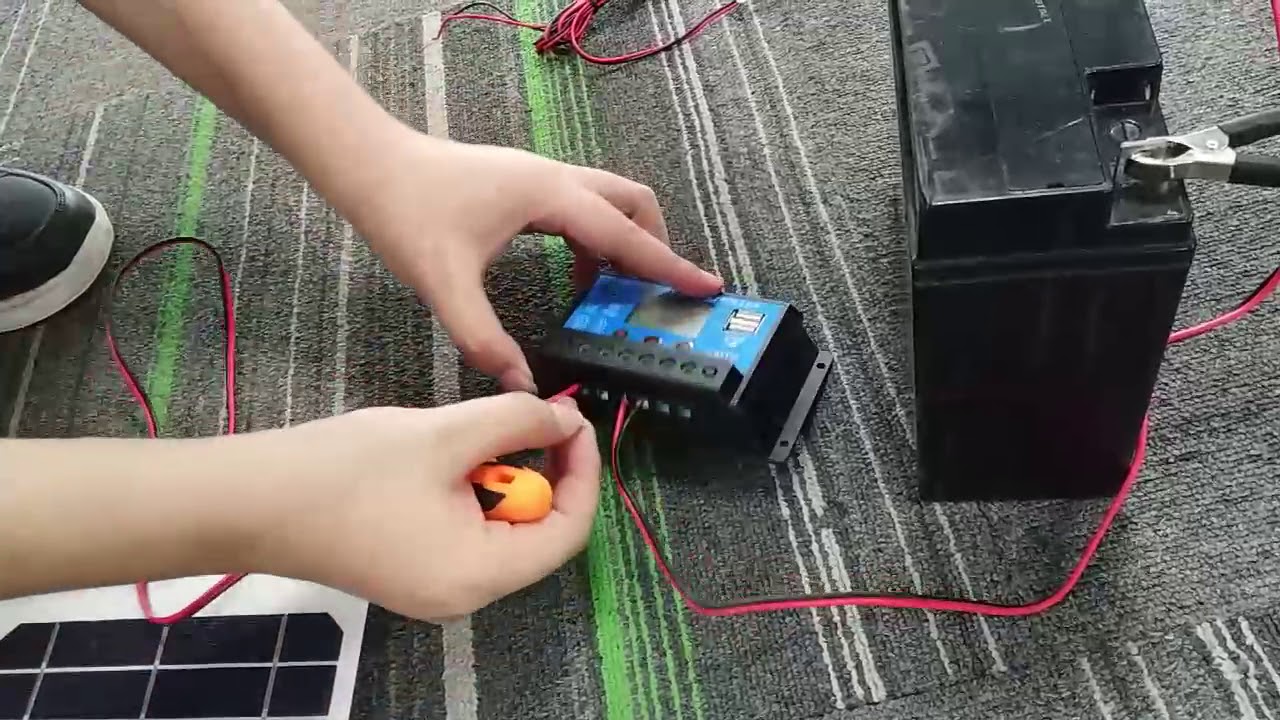
Step 2: Connect the Solar Panels to the Charge Controller
Next, connect the solar panels to the charge controller. The charge controller regulates the amount of charge that goes into the battery. Connect the positive and negative cables from the solar panel to the charge controller. The positive and negative cables are usually red and black, respectively.
Pro Tip:
It's essential to check the polarity of the cables to ensure they are connected correctly. If they are connected backward, it can damage the equipment.
Step 3: Connect the Charge Controller to the Battery
Now, connect the charge controller to the battery. You will need to connect the positive and negative cables from the charge controller to the corresponding terminals on the battery. Again, check the polarity of the cables to ensure they are connected to the right terminals.
Step 4: Connect the Inverter to the Battery
The inverter is responsible for converting the DC power from the battery into AC power that you can use to power your appliances. Connect the inverter to the battery terminals, making sure to connect the positive and negative cables to the corresponding terminals.
Pro Tip:
When selecting an inverter, make sure it matches the voltage of the battery you are using. Also, ensure that it has enough power to handle the appliances you intend to use.
Step 5: Test the System
Once you have connected everything, it's time to test the system. Turn on the inverter and connect a device to it. You should be able to power your device using solar energy. If everything is working correctly, you can now enjoy the benefits of solar power.
Conclusion:
Connecting solar panels to a battery may seem complicated, but it's relatively easy if you have the right equipment and knowledge. By following these steps, you can start using solar power to lower your energy bills and reduce your carbon footprint.