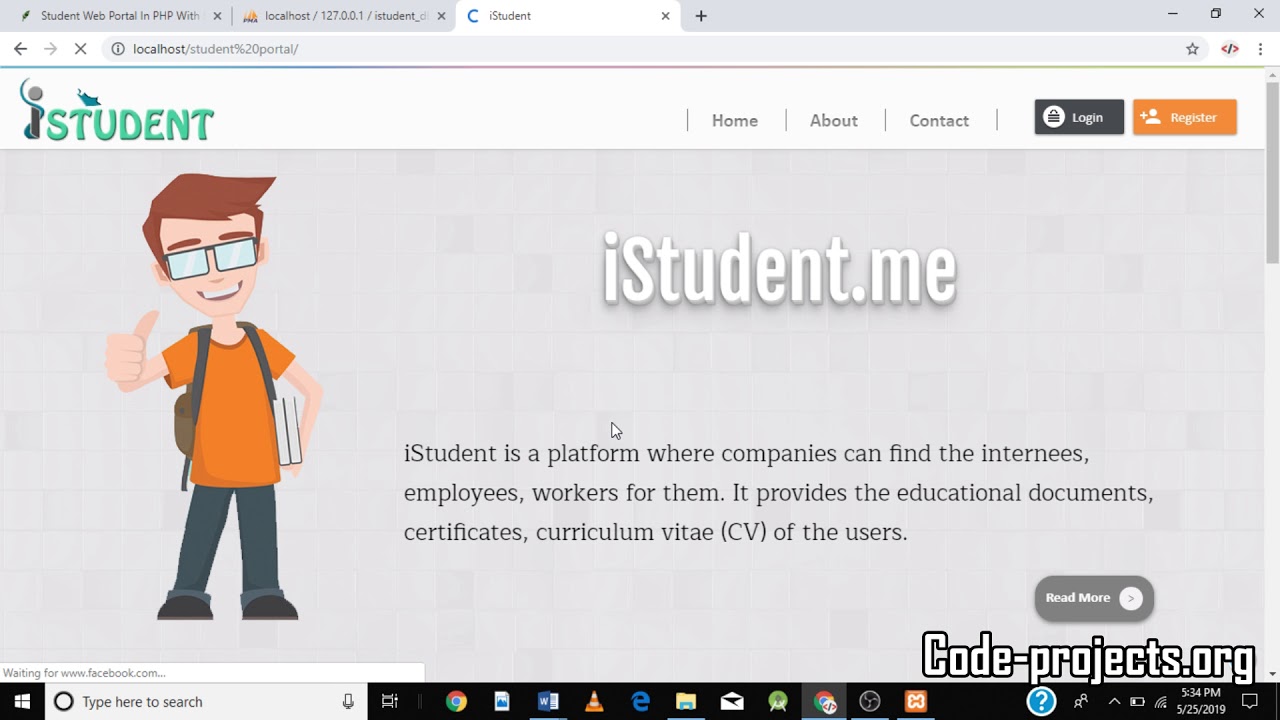
Creating a student portal is essential for educational institutions to maintain transparency and provide access to educational resources. It is an internet-based platform that helps students to interact with the faculty and stay informed about their academic progress. In this article, we will walk you through the steps to create an effective student portal for your institution.
Step 1: Define the purpose of the portal
Before creating a student portal, it is important to define the purpose of the portal. Whether it’s to provide access to class schedules, course materials or to enable online registration, the aim should be to make student life easier. The portal should be user-friendly, intuitive and easy to navigate.
Step 2: Determine the features and functionalities
The student portal should be feature-rich and must cater to the unique needs of the students. Some essential features can include:
- Course lists and schedules: Students should be able to view their timetables, exam schedules and track their progress.
- Grades: The portal should enable students to view their grades and track their academic progress.
- Assignment submission: Students should be able to submit assignments online through the portal.
- Discussion forums: The portal can host discussion forums where students can interact with their peers and faculty members.
- Resource center: The portal should provide access to course materials, lecture notes, and educational videos.
- Payment gateway: The portal should enable students to pay their fees, view their account balances, and print receipts.
Step 3: Design and layout the portal
The design of the student portal should be visually appealing and easy to navigate. It should have consistent branding and color schemes. The layout should be intuitive and optimized for various screen sizes, including mobile devices.
Use of multimedia
Use of multimedia, such as photos and videos, can enhance the student experience. Images can be used to display important alerts or deadlines. Videos can be used to provide instructional content.
Step 4: Develop the portal
Once the design and layout have been finalized, it’s time to develop the student portal. The development process includes:
- Backend: Setting up the server and defining the database schema.
- Frontend: Creating the user interface and web pages.
- Integrations: Integrating the portal with other systems, such as the student information system or the learning management system.
Step 5: Test and Launch
Before launching the portal, it’s essential to test it rigorously to ensure there are no glitches or security loopholes. Once testing is complete and all the bugs are resolved, the portal can be launched.
Maintenance and Support
The portal must be monitored regularly to ensure optimal performance. Regular maintenance and updates should be carried out to keep the portal up-to-date and provide the best user experience. Technical support should also be available to resolve any queries or issues faced by the users.
Creating a student portal can go a long way in enhancing the student experience and streamlining the administrative processes. By following these steps, educational institutions can create a robust and effective student portal that meets the needs of their students.

