
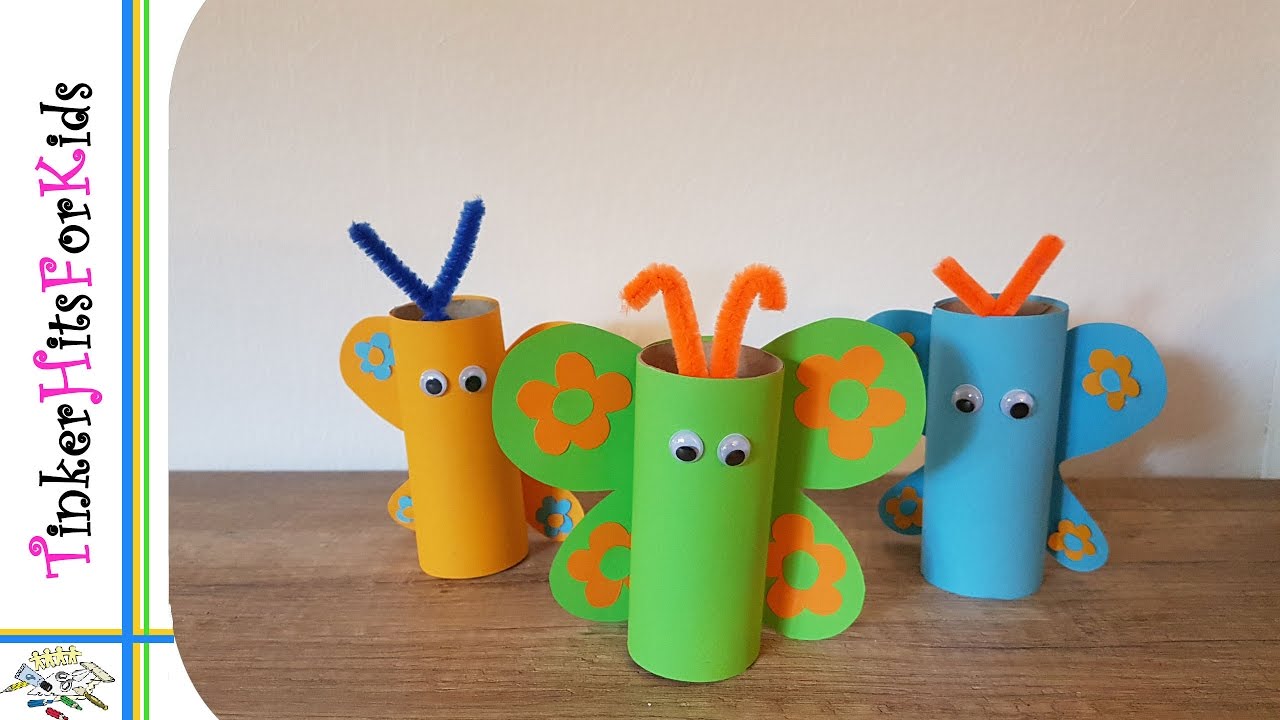
Have you ever thought about making an adorable butterfly using toilet roll? If not, then it's time to learn a new craft. Making a butterfly from toilet rolls is an easy and fun way to spend your free time. In this article, we will take you through a step-by-step guide on how to create a beautiful butterfly from the comfort of your own home.
What You'll Need
Before we start crafting, let's gather all the tools you'll need:
- Empty toilet roll
- Scissors
- Paint or markers
- Googly eyes
- Pipe cleaners
- Glue
The Steps
Now that we have everything we need, let's start crafting!
Step 1
First, flatten the toilet roll and cut it in half. One half of the roll will be used for the butterfly's body and the other half for the wings.
Step 2
Using the paint or markers of your choice, decorate the toilet roll with various patterns or colors. You can also make some abstract designs to unleash your creativity. Let it dry before moving on to the next step.
Step 3
Cut the wings by folding the other half of the toilet roll in half and making a half-heart shape on each side. Cut along the line to create two identical butterfly wings.
Step 4
Glue the toilet roll wings to the body. Ensure the wings are firmly attached to the body.
Step 5
Take the pipe cleaners and make two small antennae. Use a different color for each antenna to give the butterfly a unique look. Once done, attach them to the butterfly's head.
Step 6
Now it's time to add the googly eyes. Apply a small amount of glue on the butterfly's head and press the googly eyes onto it.
Step 7
To finish up, bend the wings slightly upwards to make it look like the butterfly is flying, and your adorable toilet roll butterfly is ready!
The Final Result
There you have it, your very own toilet roll butterfly. This craft is perfect for children or adults who want a quick and simple DIY project that can be completed in under an hour. You can use it as a decoration, a cute gift, or even as a fun learning activity with kids. So why not give it a try and let your creativity fly free?
