
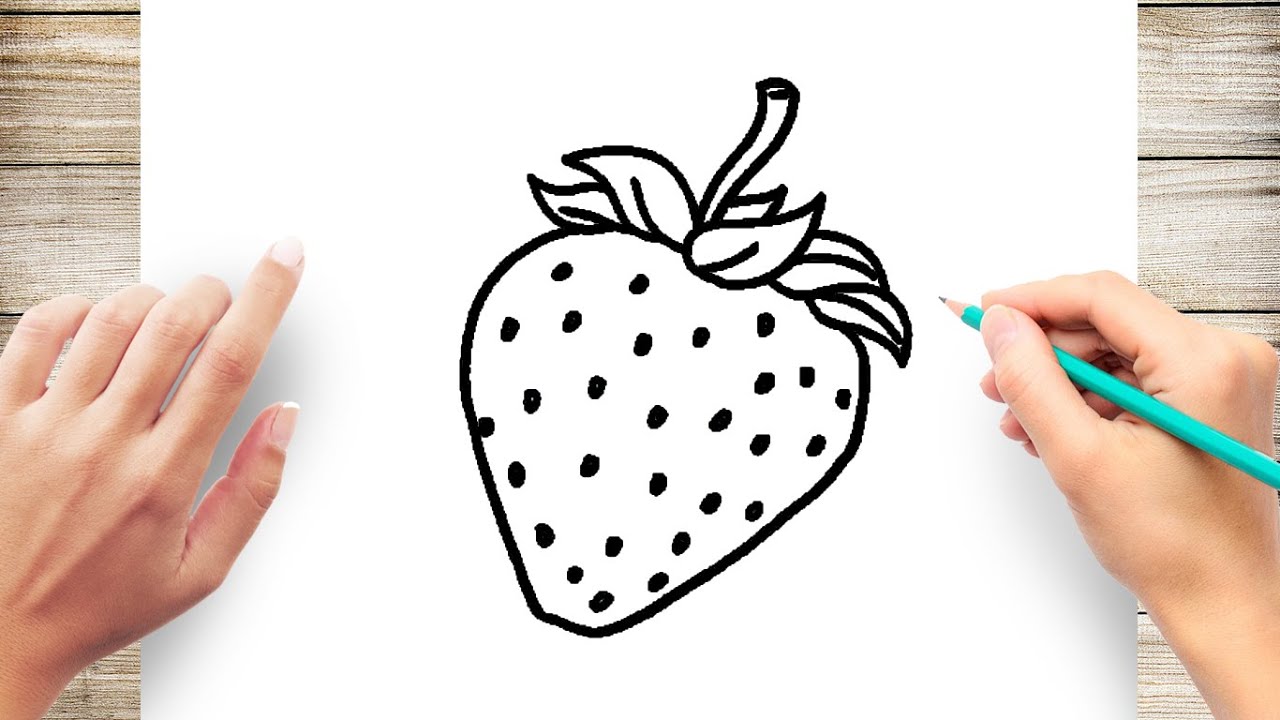
Drawing is a fun and creative activity that can be enjoyed by people of all ages. If you are a beginner and want to learn how to draw a strawberry, then you have come to the right place. In this article, we will guide you through the process of how to draw a strawberry step-by-step. So, let's get started!
Step 1: Draw the Outline
The first step is to draw the outline of the strawberry. To do this, draw a small circle at the center of the page. This will be the base of the strawberry. Then, draw an irregular shape around the circle to form the outline of the strawberry.
Step 2: Add the Leaves
Next, add the leaves to the strawberry. Draw three small leaves at the top of the strawberry. The leaves should be slightly curved and pointy. You can use a reference image to make your drawing more accurate.
Step 3: Draw the Seeds
Now, it's time to draw the seeds on the strawberry. Draw small comma-shaped seeds all over the strawberry. The seeds should be evenly spaced and cover the entire surface of the strawberry.
Step 4: Color the Strawberry
The final step is to color the strawberry. Strawberries are usually red in color, but they can also be pink or even white. Use a red color pencil or marker to color the strawberry. Leave the seeds and leaves white.
Tips:
- Start with light pencil strokes so you can easily erase mistakes.
- Use a reference image to make your drawing more accurate.
- Experiment with different colors and shading techniques.
Drawing a strawberry may seem daunting at first, but with some practice and patience, you can master this skill. Remember to have fun and enjoy the process. Happy drawing!
Pro tip: Use color pencils to add depth and shading to your drawing.
