
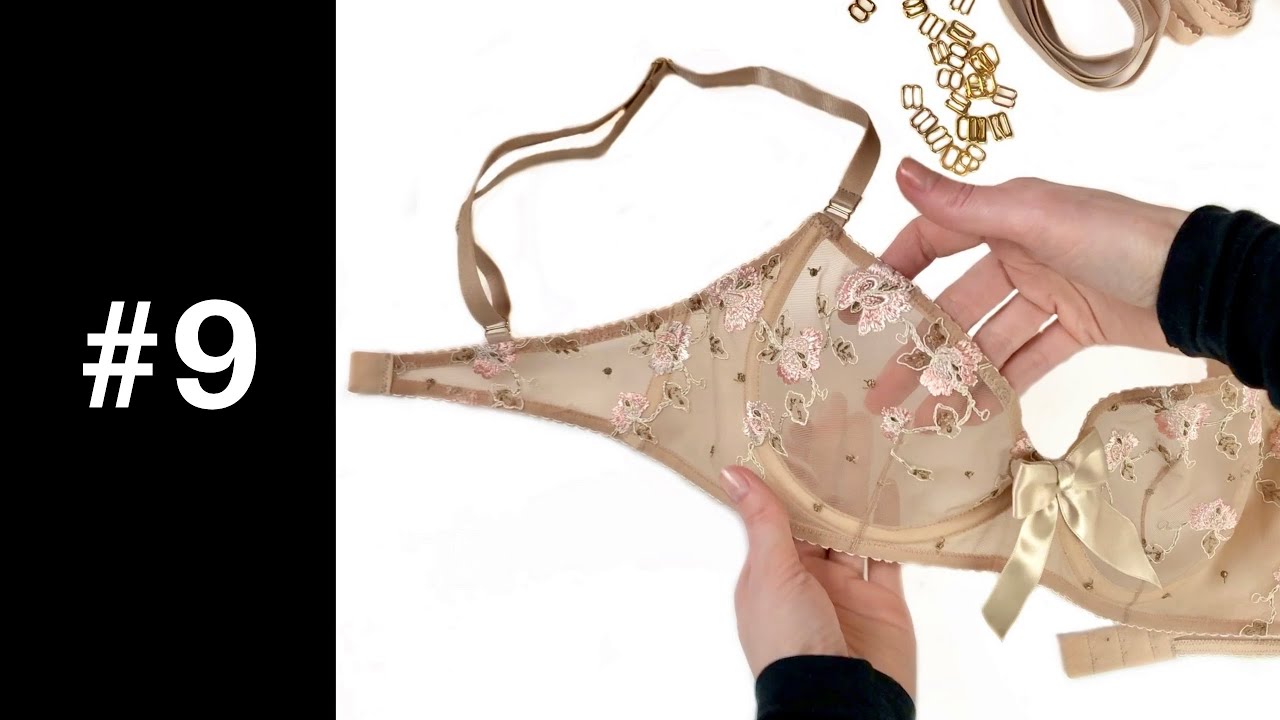
Welcome to our guide on how to make a bra! Making a bra from scratch can seem like a daunting task, but with a few tips and tricks, it can actually be a fun and rewarding project. Not to mention, handmade bras can be much more comfortable and personalized to your body than store-bought ones.
Materials Needed
Before we delve into the process of making a bra, let's go over the materials you'll need:
- Stretchy fabric for the cups and band
- Non-stretchy fabric for the lining and straps
- Underwire
- Bra closures
- Elastic
- Thread
- Bra pads (optional)
Step 1: Create the Pattern
The first step to making a bra is creating a pattern. You can use an existing bra as a template or make your own pattern by measuring yourself and following a bra-making guide. Once you have your pattern, cut out all the necessary pieces from your fabric.
Tip:
When cutting your fabric, make sure to mark which pieces are for the left and right cups and which are for the lining and exterior fabric.
Step 2: Sew the Cups
Next, sew the cups together using a zigzag stitch. If you're using bra pads, sew them onto the lining fabric before attaching it to the cups. Then, attach the lining to the cups using a zigzag stitch as well.
Tip:
It's best to use a ballpoint needle when sewing stretchy fabrics to prevent them from getting damaged.
Step 3: Add the Underwire
Insert the underwire into the casing that runs along the bottom of each cup. Once the underwire is in place, sew the casing closed.
Tip:
Make sure the underwire is properly aligned with your body before sewing it into place.
Step 4: Sew the Band
Sew the band together, leaving room for the bra closures at the back. Attach the cups to the band using a zigzag stitch.
Tip:
When attaching the cups to the band, make sure to stretch the band slightly to fit the cups evenly.
Step 5: Add the Straps
Finally, attach the straps to the bra. Make sure they're the right length for your body and adjust them as needed.
Tip:
When attaching the straps, make sure they're centered on the cups and are at the proper angle for your body.
And that's it! With a little patience and some skill, you can create your very own custom bra. Give it a try and see how comfortable and stylish your creation can be.
