
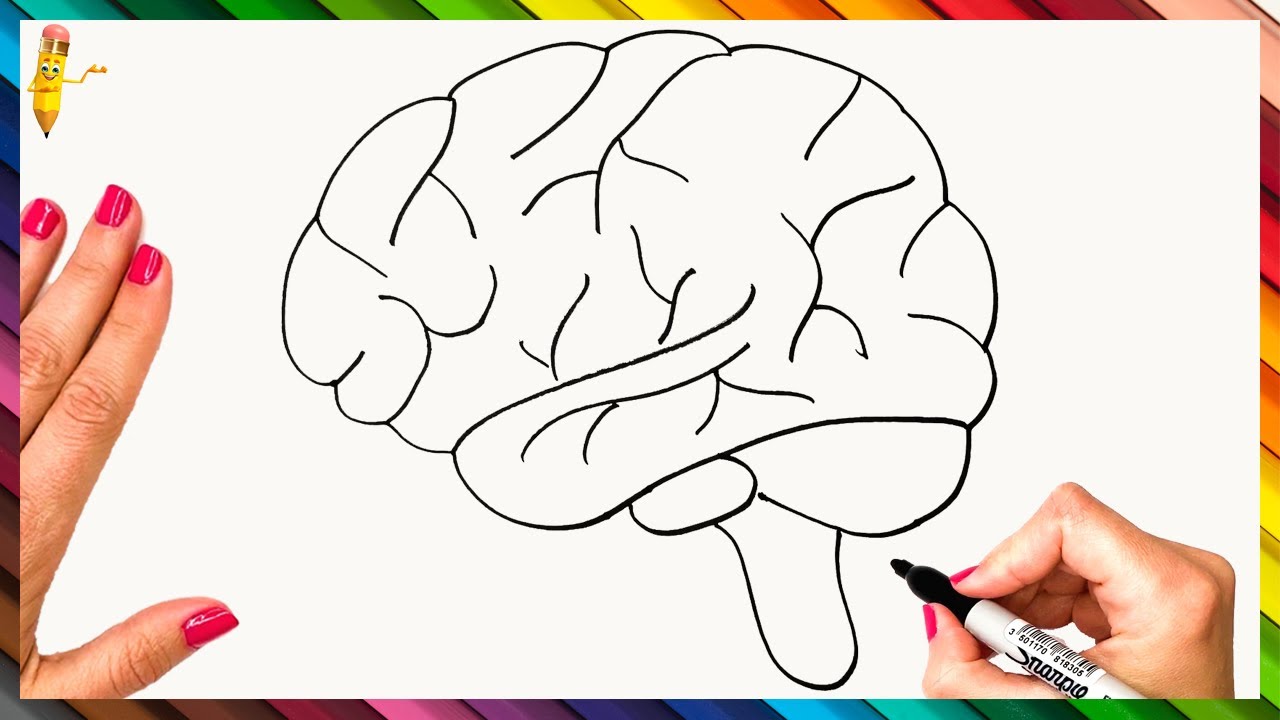
If you are an artist or someone who is interested in anatomy, learning how to draw a brain can be a fascinating and rewarding experience. The brain is an extremely complex organ, with millions of nerve cells that work together to control all of our thoughts, feelings, and actions.
Materials needed
Before you start drawing, you’ll need a few materials:
- Pencil
- Eraser
- Paper (preferably sketch paper)
- Reference image of a brain (optional, but highly recommended)
Step 1: Draw the outline
The first step in drawing a brain is to create an outline. Start by drawing a circle in the center of your paper. This will be the main body of the brain. Next, draw two lines that curve outward from the top of the circle, and two lines that curve outward from the bottom of the circle. These lines will be the left and right hemispheres of the brain.
Tips:
Tip 1: You can use a reference image to help you get the correct proportions and shape of the brain.
Tip 2: Don’t worry about making your lines perfect at this stage. You can always erase and adjust as you go along.
Step 2: Add the grooves and folds
The next step is to add the grooves and folds that give the brain its characteristic shape. Start at the top of the brain and draw a line that curves downward, following the curve of the hemisphere. Then draw another line that curves up to meet it. Repeat this process, working your way down the hemisphere, until you have added all of the major grooves and folds.
Tips:
Tip 1: Again, use a reference image to help you get the details right.
Tip 2: Don’t worry if your lines aren’t exactly the same as the reference image. Every brain is unique!
Step 3: Add shading
Now it’s time to add shading to your brain drawing. Study your reference image or look up pictures online to see how the light falls on the brain’s grooves and folds. Start shading lightly with your pencil, gradually building up the darkness for the areas where shadows are the darkest.
Tips:
Tip 1: Use hatching (a series of closely spaced parallel lines) or cross-hatching (a series of intersecting lines) to add shading.
Tip 2: Use an eraser to lighten areas if needed.
Step 4: Add details
Finally, add any remaining details to your brain drawing, like labeling the different parts of the brain or adding veins and arteries.
Tips:
Tip 1: Keep your lines clean and crisp. Use a sharp pencil and don’t be afraid to start over if you make a mistake.
Tip 2: Use a ruler or straight edge for straight lines.
Learning how to draw a brain can be a challenging but rewarding experience. With some practice and patience, you can create a beautiful and accurate representation of this complex organ.
