
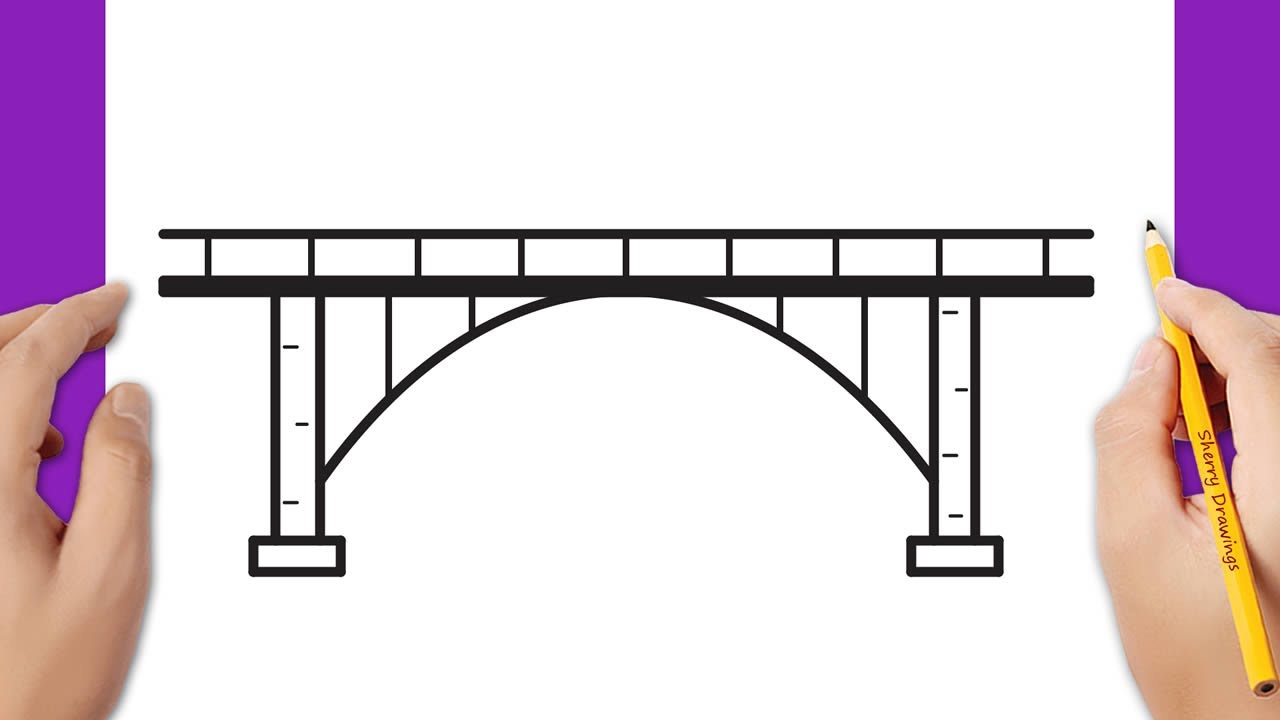
Drawing a bridge can be a challenging task, but it can also be a rewarding experience. Whether you are an aspiring artist or just looking to improve your art skills, there are several tips and techniques you can use to create a stunning bridge drawing. In this article, we will explore some of the best practices for drawing a bridge.
Materials Needed
Before you get started on your bridge drawing, you will need to gather some basic materials. Here is a list of some materials that you may need:
- Pencil (preferably a 2B or 4B)
- Eraser
- Drawing paper
- Straightedge ruler
- Compass
- Coloring tools (optional)
Step-by-Step Guide
Now that you have your materials ready, let's start with the drawing process. Follow these steps to create a bridge drawing:
Step 1: Sketch the Basic Shape of the Bridge
Start by sketching the basic shape of the bridge. Use your pencil to draw a line for the horizon and another line for the waterline. Then, draw a simple arch or suspension bridge shape, depending on the type of bridge you want to draw.
Tip: You can use a reference image to get an idea of the basic shape of the bridge.
Step 2: Add Details to the Bridge
Next, add some details to the bridge. Draw the support columns, beams, cables, or any other structural pieces that the bridge may have. Make sure to add small details that will make your drawing more realistic.
Tip: Observe the reference image closely and pay attention to the details.
Step 3: Add Texture to the Bridge
After you have sketched the basic structure of the bridge, you can add some texture to it. Use your pencil to create some shading or use hatching and cross-hatching techniques to add depth to your drawing. You can also use coloring tools to add color to your bridge.
Tip: Use lighter lines for the parts of the bridge that are in the background and darker lines for the parts that are closer to the viewer.
Step 4: Draw the Environment
Once you have finished drawing the bridge, you can add some environment to your drawing. Draw some trees, mountains, or buildings in the background to create a realistic atmosphere. You can also add reflections of the bridge in the water to make your drawing more interesting.
Tip: Use different shades of green to make the trees look more realistic.
Conclusion
Drawing a bridge can be a challenging task, but with the right techniques, you can create a stunning artwork. Use this step-by-step guide to improve your art skills and create your own beautiful bridge drawing. Remember to experiment with different textures, colors, and environments to make your drawing unique. With practice, you will be able to draw a realistic and impressive bridge that will leave your viewers amazed.
