Welcome to this tutorial where you will learn how to draw a cube! Drawing a cube is an essential skill for any artist, regardless of whether your focus is on painting, graphic design or even architecture. In this step-by-step guide, we will take a closer look at how to draw a perfect cube, including how to add shading and perspective to create a realistic 3D effect.
What you will need
Before we start, make sure you have the following items ready:
- Pencil (preferably 2B or 4B)
- Eraser
- Ruler
- Blank sheet of paper
Step 1: Draw a square
The first step to drawing a cube is to start with a square. Use your ruler to draw a straight line, and then measure four equal sides, using the same length for each. You can make the square as small or as large as you like, depending on how big you want your cube to be.
Tip: To ensure your lines are straight and your corners are perfect, use a firm hand and a steel ruler. Always measure twice before you draw.
Step 2: Add the depth
The next step is to add depth to the square by drawing two parallel lines, one on each side of the square. The distance between these lines will determine how deep your cube is going to be. For this tutorial, we will draw the lines around one-third of the length of each side.
Tip: If you are not sure how deep you want your cube to be, draw the lines lightly and adjust them as needed later on.
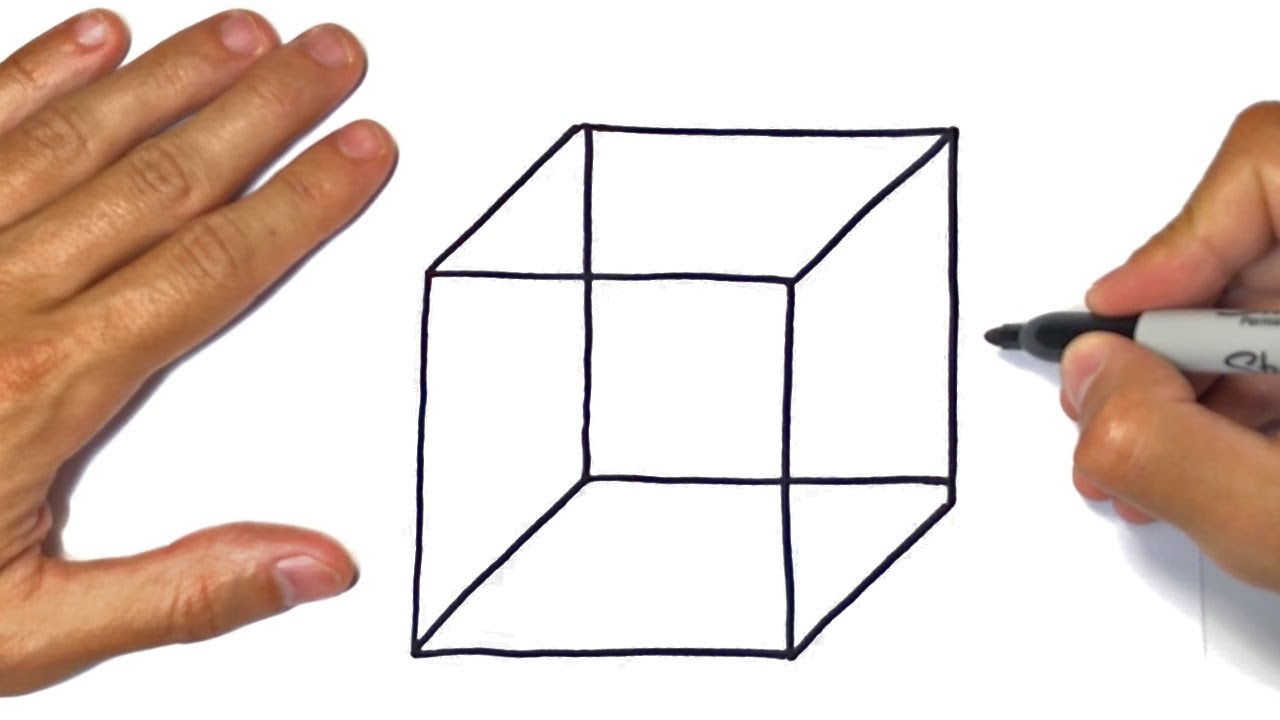
Step 3: Connect the lines
Now it is time to connect the parallel lines to create the sides of the cube. Draw two straight lines from the bottom corners of the square to the corresponding bottom corners of the parallel lines. Then, draw two more lines that connect the top corners of the square to the top corners of the parallel lines.
Step 4: Erase the extra lines
Once you have completed the basic shape of the cube, you can erase any extra lines that are no longer needed. Start by erasing the excess lines within the square, leaving only the sides that are part of the cube. Then, erase any remaining lines that are outside of the cube.
Tip: Be careful not to erase the important lines that create the cube's shape. Double-check before erasing each line to make sure it is not necessary.
Step 5: Add shading
The final step to create a realistic 3D effect is to add shading. Start by identifying which direction the light source is coming from. This will help you determine where to add shadows and highlight areas that reflect the light.
Use your pencil to add shading to the sides of the cube that are facing away from the light source. Use lighter shading for the sides that are facing the light source, and add brighter highlights to create the illusion of a reflective surface.
Tip: Don't be afraid to experiment with different shades of graphite or add more shading to create more depth and contrast in your cube drawing.
Conclusion
Congratulations! You have successfully learned how to draw a cube in just five easy steps. With practice, you can perfect your technique and even experiment with different variations of the cube, such as transparent cubes or cubes with rounded corners.
Remember: The key to drawing a perfect cube is to take your time and be patient. Don't rush through the steps, and always use a ruler and a sharp pencil to ensure your lines are straight and clean.