
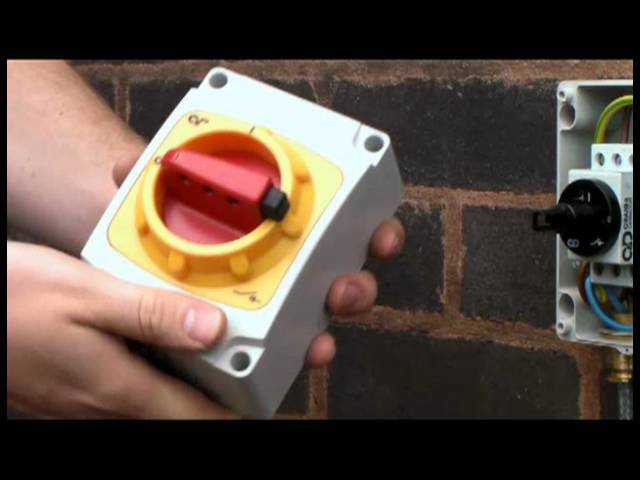
Isolator switch is an essential component in the electrical circuit for providing safety by disconnecting the power supply to the specific device or equipment. It helps in performing maintenance, testing or inspection of electrical equipment safely. Proper installation of the isolator switch is crucial for preventing electrical accidents and ensuring security of the electrical system. In this article, we will discuss how to connect an isolator switch properly, so let's get started step by step.
Tools and Equipment Required
Before starting the installation process, keep the following tools/equipment ready.
- Electric drill machine
- Screwdriver set
- Insulated cable stripper
- Wire cutter
- Insulated gloves
- Isolator switch
- Mounting kit
- Cable clamps
- Electrical wire
Step 1: Turn off the Power Supply
Before installing the isolator switch, always ensure that the power supply to the specific device or equipment is turned off. It will prevent electric shock, injuries and damages to the electrical system. Use a voltage detection tool to verify that there is no electricity flowing in the circuit.
Step 2: Disconnect the Device or Equipment from Power Supply
After turning off the power supply, disconnect the specific device or equipment from the power source. It will prevent any accidental current flow during installation or maintenance of the isolator switch.
Step 3: Mount the Isolator Switch
Mount the isolator switch on a surface using a mounting kit. Ensure that the surface is strong and can hold the weight of the isolator switch, cables and other connected devices. Use screws and cable clamps to tighten the switch and maintain a firm grip.
Step 4: Connect the Electrical Wires
After mounting the isolator switch, connect the electrical wires properly. First, strip the insulation from the end of the wires with an insulated cable stripper. Then, connect one wire to the load side of the switch and the other to the power source. Ensure that the wires are tightly connected to avoid any loose connection that can cause an electrical hazard.
Pro Tip:
Always follow the manufacturer's instructions for connecting the wires to the isolator switch. You can also refer to the wiring diagram provided with the switch to ensure proper connection.
Step 5: Test the Isolator Switch
After connecting the electrical wires, test the isolator switch by turning the power supply on/off. Verify that the power supply to the specific device or equipment is disconnected when the switch is in the off position. Also, check that the switch is working correctly and smoothly.
Step 6: Secure the Wires and Cover the Isolator Switch
After testing the isolator switch, secure the wires in place and cover the isolator switch. Use cable clamps and cable ties to avoid any movement of the wires that can loosen the connections. Cover the isolator switch with its cover to prevent any accidental contact with the switch.
Conclusion:
Installing an isolator switch in the electrical circuit is crucial for ensuring safety and preventing electrical hazards. Always follow the above steps and manufacturer's instructions for proper installation of the isolator switch. If you are not sure about the installation process, consider hiring a professional electrician.
