Sketch maps are a great way to visualize your local area. They can be used to plan routes, mark out key locations, or simply gain a better understanding of the geography of an area. In this article, we'll take you through the steps to create your own sketch map of your local area.
Materials Needed
Before you get started, you'll need a few materials. These include:
- Paper
- Pencil
- Eraser
- Straightedge
Step 1 - Choose a Scale
The first step in creating your sketch map is to choose a scale. The scale you choose will depend on the size of the area you're mapping and the level of detail you want to include. For example, if you're mapping a small park, a scale of 1 inch = 10 feet might be appropriate, while for a larger area like a city block, a scale of 1 inch = 100 feet might be better.
Step 2 - Draw the Border
Once you've chosen your scale, it's time to draw the border of your map. Use your straightedge to draw a rectangle or square that represents the boundaries of the area you're mapping.
Step 3 - Add Key Locations
The next step is to add key locations to your map. These might include landmarks, significant buildings, or areas of interest. Use your pencil to mark out these locations within the border of your map. Remember, you don't need to be exact at this stage - your sketch map is just a rough representation of the area.
Tip
If you're struggling to visualize the area, try using Google Maps or another online map service to get a better sense of the geography.
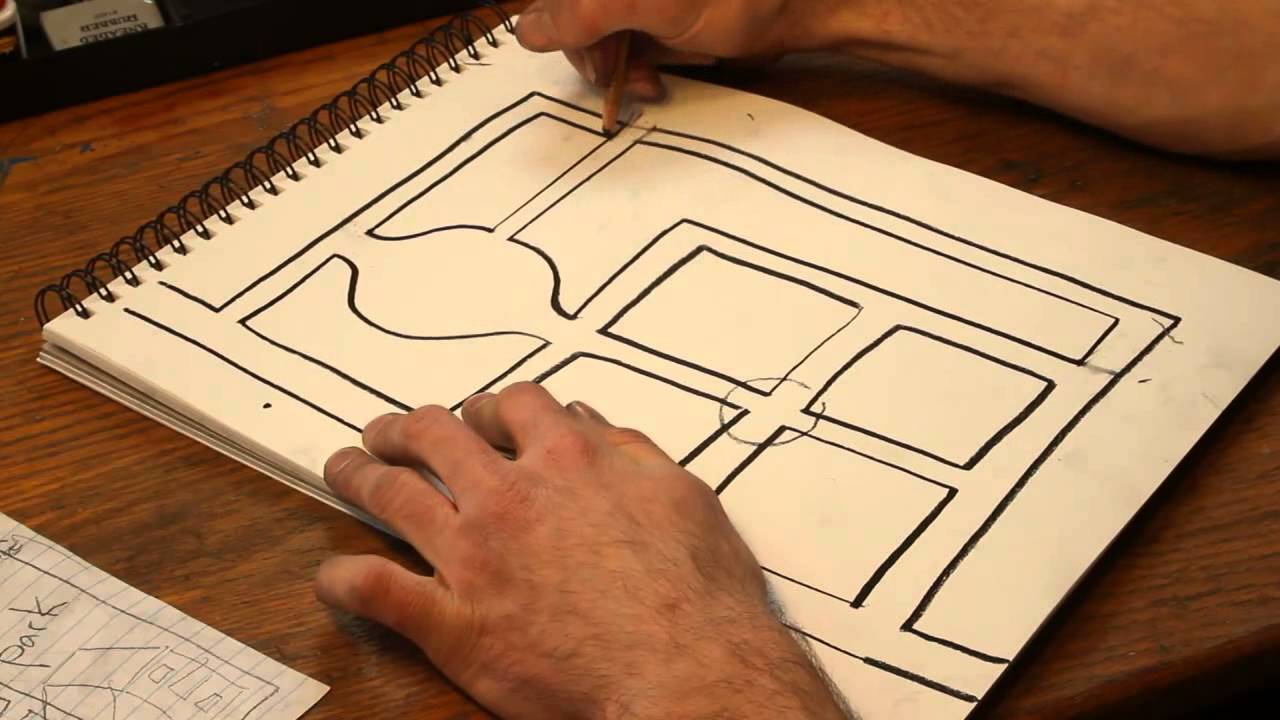
Step 4 - Add Streets and Paths
Once you've marked out the key locations, it's time to add the streets and paths. Use your straightedge to draw lines that represent the streets and paths in the area. Again, you don't need to be exact - just try to capture the overall layout of the area.
Tip
To make your map more legible, use different line weights to represent different types of roads (for example, thicker lines for major roads and thinner lines for side streets).
Step 5 - Add Labels
The final step is to add labels to your map. Use your pencil to label the key locations, streets, and paths. You might also want to add a title to your map and a north arrow to show the orientation of the area.
Tip
If you're planning to share your map with others, consider using a pen or fine-tipped marker to go over your pencil lines. This will make your map more legible and durable.
Conclusion
Congratulations! You've created your own sketch map of your local area. With a bit of practice, you'll be able to create more detailed and accurate maps. Sketch maps are a great tool to have in your arsenal, whether you're a hiker, a cyclist, a driver, or just someone who wants to understand their local area better.